Build Your Own URL Shortener: Complete Technical Guide
Last updated on: July 21, 2025
Introduction
In today's digital world, URLs have become the key to accessing content online. However, long and cumbersome URLs can sometimes be unwieldy, particularly for sharing across social media or in marketing materials. This is where a URL shortener comes into play, condensing long web addresses into shorter, more manageable versions.
Why Build Your Own URL Shortener?
- Full control over branding and customization
- No usage limits or third-party restrictions
- Advanced analytics tailored to your needs
- Valuable learning experience in full-stack development
What is a URL Shortener?
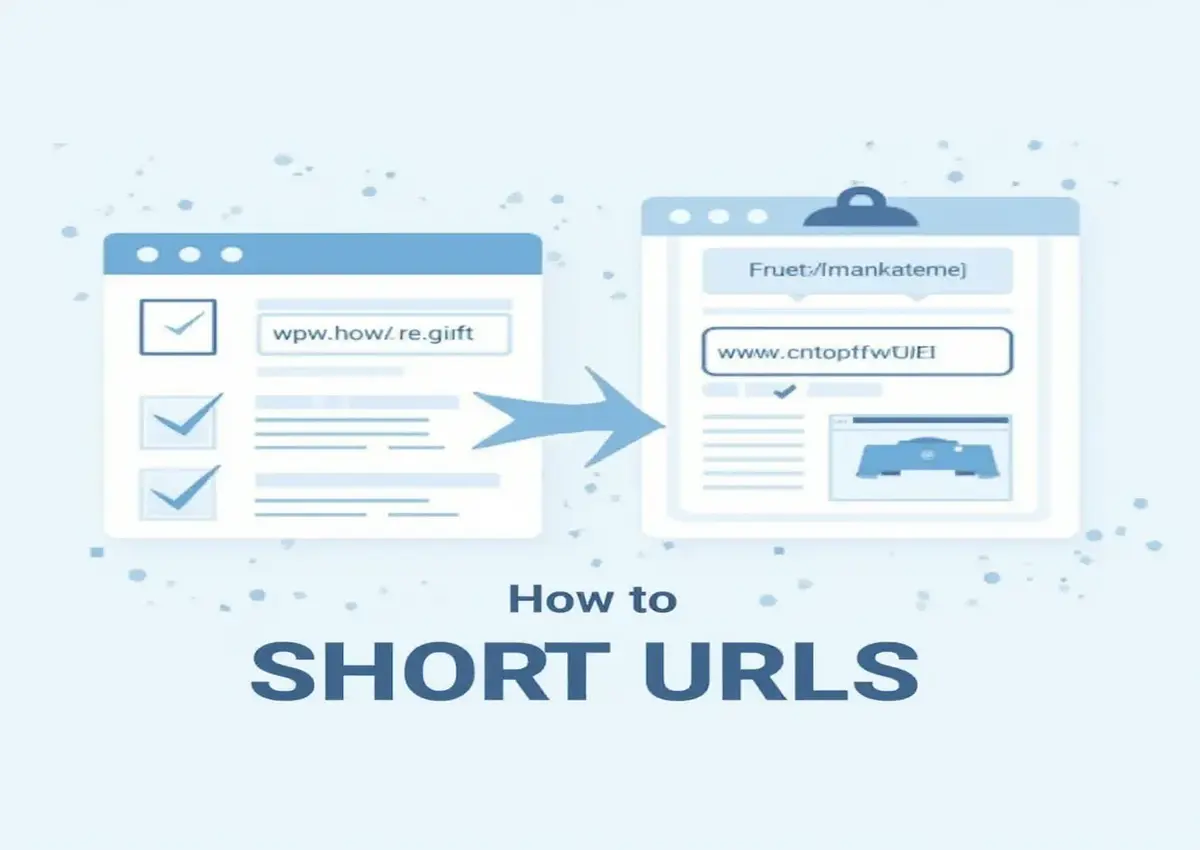
A URL shortener is a service that converts a long URL into a significantly shorter version. This short URL typically redirects users to the original web address, but its brevity makes it more convenient for sharing.
Popular URL Shortener Services
| Service | Key Feature | Limitation |
|---|---|---|
| URLdn | Advanced analytics | No limit on shortening |
| Bitly | Advanced analytics | Expensive for premium features |
| TinyURL | Simple and free | No customization |
| Rebrandly | Branded domains | Learning curve |
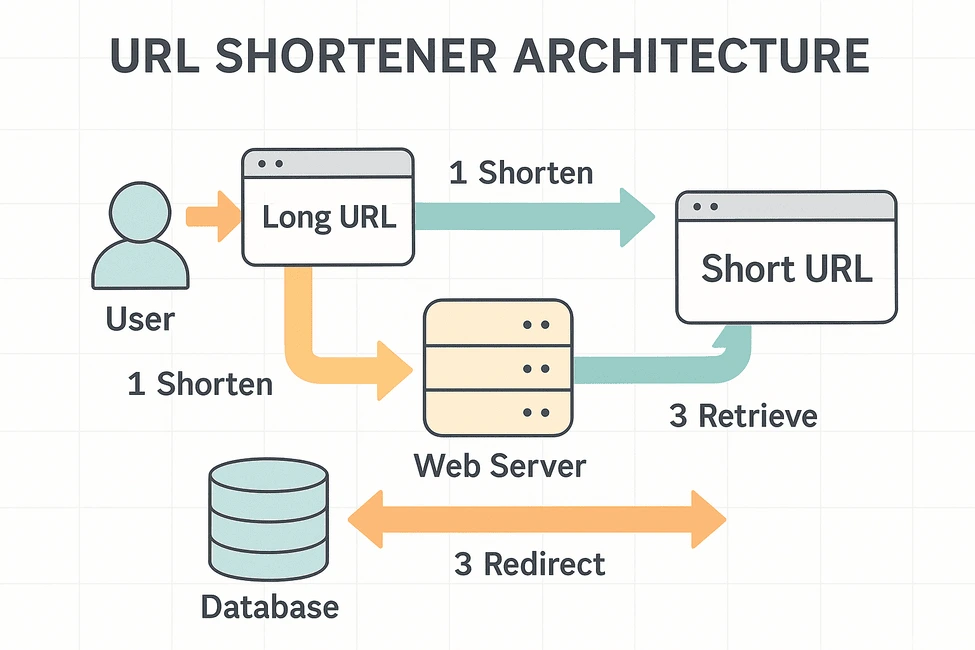
How URL Shorteners Work
Behind the Magic: The Process of Shortening a URL
The URL shortening process involves:
- User submits a long URL (e.g.,
https://example.com/very-long-article-title) - System generates a unique short code (e.g.,
abc123) - Creates mapping in database
- Returns shortened URL (e.g.,
https://yourdomain.com/abc123)
Redirect Mechanism
// Express.js redirect example
app.get('/:shortUrl', async (req, res) => {
    const url = await UrlModel.findOne({ shortCode: req.params.shortCode });
    if (url) {
        return res.redirect(url.originalUrl);
    }
    return res.status(404).send('URL not found');
});
Key Benefits of Using URL Shorteners
Aesthetic Benefits
Clean, shareable links that fit anywhere - especially important for:
- Twitter/X posts
- Printed materials
- SMS messages
Tracking & Analytics
Monitor key metrics:
- Click-through rates
- Geographic data
- Referral sources
- Device types
Branding Opportunities
Custom domains create:
- Professional appearance
- Brand recognition
- Trust with users
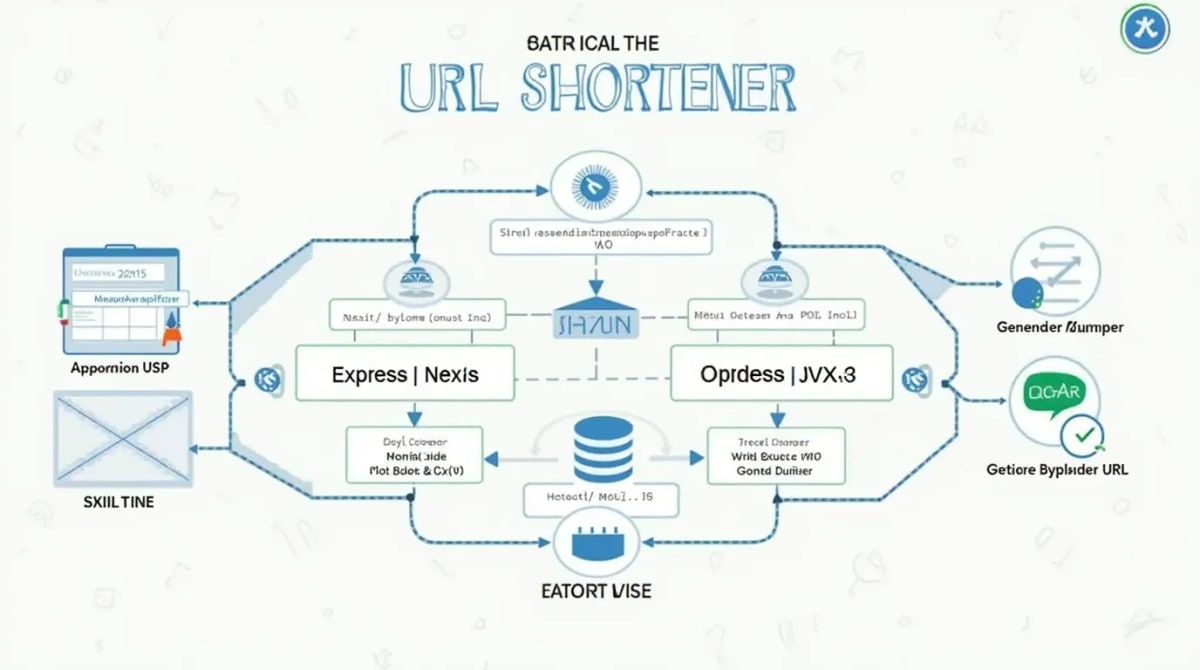
Basic Components of a URL Shortener
System Architecture
Shortening Algorithm Options
| Method | Pros | Cons |
|---|---|---|
| Counter-based | Simple to implement | Predictable sequences |
| Hash-based | Uniform distribution | Potential collisions |
| Random strings | No sequential pattern | Need duplicate checking |
Choosing the Right Technology Stack
Frontend Options
- HTML/CSS/JavaScript
- React/Vue/Angular
- Bootstrap/Tailwind
Backend Options
- Node.js + Express
- Python + Flask
- Ruby on Rails
Database Options
- MongoDB
- PostgreSQL
- Redis
Recommended Stack for Beginners
For those new to full-stack development, we recommend:
- Frontend: Vanilla JavaScript + Bootstrap
- Backend: Node.js + Express
- Database: MongoDB (NoSQL flexibility)
Setting Up the Project Environment
Installation Guide
# Install Node.js and npm
brew install node  # MacOS
choco install nodejs # Windows

# Verify installation
node --version
npm --version

# Install MongoDB
brew tap mongodb/brew
brew install mongodb-community
Project Structure
url-shortener/
├── backend/
│   ├── models/       # Database models
│   ├── routes/       # API endpoints
│   ├── app.js        # Main server file
│   └── package.json
└── frontend/
    ├── public/       # Static files
    ├── src/          # JS/CSS files
    └── index.html
Creating the URL Shortener Backend
Basic Express Server Setup
const express = require('express');
const mongoose = require('mongoose');
const app = express();

// Connect to MongoDB
mongoose.connect('mongodb://localhost/urlshortener', {
    useNewUrlParser: true,
    useUnifiedTopology: true
});

// Define URL Schema
const urlSchema = new mongoose.Schema({
    originalUrl: String,
    shortUrl: String,
    createdAt: { type: Date, default: Date.now }
});

const Url = mongoose.model('Url', urlSchema);

// Start server
app.listen(3000, () => {
    console.log('Server running on port 3000');
});
Ready to Boost Your Registrations?
Sign up for free to start creating short links that convert.
Implementing the URL Redirection Logic
Complete Redirection Example
// Generate short code
function generateShortCode() {
    return Math.random().toString(36).substring(2, 8);
}

// Create short URL
app.post('/api', async (req, res) => {
    const { originalUrl } = req.body;
    const shorturl = generateShortCode();

    const newUrl = new Url({ originalUrl, shorturl });
    await newUrl.save();

    res.json({ shortUrl: `${req.protocol}://${req.get('host')}/${shortCode}` });
});
Building the Frontend for URL Input
Simple HTML Form
<div class="url-form">
    <h2>URL Shortener</h2>
    <input type="text" id="urlInput" placeholder="Enter long URL">
    <button id="shortenBtn">Shorten URL</button>
    <div id="result"></div>
</div>
JavaScript Fetch Example
document.getElementById('shortenBtn').addEventListener('click', async () => {
    const url = document.getElementById('urlInput').value;
    const response = await fetch('/api', {
        method: 'POST',
        headers: { 'Content-Type': 'application/json' },
        body: JSON.stringify({ originalUrl: url })
    });
    const data = await response.json();
    document.getElementById('result').innerHTML = `Short URL: ${data.shortUrl}`;
});
Testing and Deployment
Testing Strategy
- Unit Tests: Test individual functions (short code generation, database operations)
- Integration Tests: Test API endpoints and redirects
- End-to-End Tests: Test complete user flow
Deployment Options
| Platform | Best For | Free Tier |
|---|---|---|
| Heroku | Simple deployments | Yes |
| Railway | Full-stack apps | Yes |
| Render | Static + backend | Yes |
Next Steps in Your Development Journey
Enhance your URL shortener with these advanced features:
- User accounts and link management
- Custom domain support
- Click analytics dashboard
- API access for developers